Pom-Pom Easter Wreath


*an embroidery hoop (I only use the outer part so that I can save the inner part for another project)
*yarn (I used three colors; white, pink and green)
*a pom-pom maker
*glue gun and glue sticks
*ribbon to hang the finished wreath
*needle
*a couple inches of embroidery floss
*a plastic Easter egg, if you want to hang it in the middle

I got my pom-pom maker at Joann's (with my half-price coupon, of course) so that I could make small and large size pom-poms.
(I use those pom-poms for everything! My best idea has been as a substitute for that plastic Easter grass. I've also thought about making snowballs for an Arizona Snowball Fight, but that's another holiday...)

The first step is to make the pom-poms. I made 4 large pink, 4 large green and eight small white poms. Sassy helped me with the pink and white, so we got to have a little mommy/daughter time, too... sans angst :)

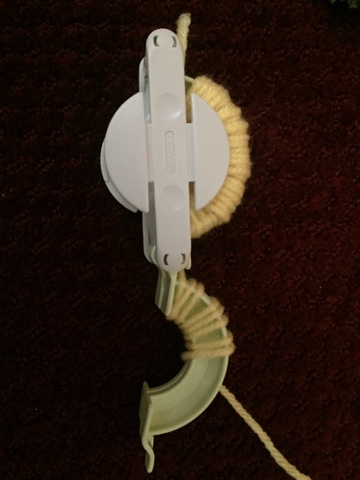
Second side

Cut both sides

Using several inches of yarn tie in the middle with a knot ( keeping the strings long) and separate the pom-pom maker.

Give it a little trim (but not the tied string!) and you've got yourself a pom-pom!
Next, I tied the pom-poms to the embroidery hoop in a white/solid/white pattern. I started with a large pink in the top center because pink is my daughter's favorite color.
You might need to slide them around or puff them up, so don't tie them too tight.

After you have all of your pom-poms tied to your embroidery hoop and placed where you want them to be, making sure that all of the ties are along the back of the embroidery hoop, it's time to get your glue gun! Glue each tied pom to the embroidery hoop, taking care to use just a touch. You don't want to stick the pom pom itself; just where you've tied them on with those long strings. After the glue has dried, trim the strings so they are about the length of the palm so that they blend in with the pom-poms.


and trim.
Now, grab the ribbon that you will be using to hang your wreath and pull it through the top of the hoop (where it screws together) After you do that, screw the embroidery hoop closed so that you will be able to use a string (below the ribbon) to hang the Easter egg.

I used a plastic Easter egg with a hole in the top. Thread your needle with the embroidery floss and tie a big knot in one end. Thread the needle up through the hole in the top of the egg and then bring the thread up to the top of the embroidery loop just below where you put in the ribbon to hang your wreath. It was a little tricky to get it to hang in the center and took some patience. I got so frustrated with that pretty blue robins egg!

The finished product...

No comments:
Post a Comment